What is an Eye Mark?
In flexible packaging, precision is everything. Even a small misalignment on the production line can lead to wasted material, inconsistent seals, and costly reprints. That’s where the eye mark comes in — a small, high-contrast mark printed along the edge of your film that tells your machinery exactly when to cut, seal, or fold. It’s a tiny detail that makes massive differences in efficiency and product quality.
At Hawk Flex Packaging, we work with converters and brand owners to make sure every roll of flexible film is ready for production — including accurate eye mark placement for candy, cookie, and gummy packaging lines that run at thousands of pouches per hour.
Understanding Eye Marks in Flexible Packaging
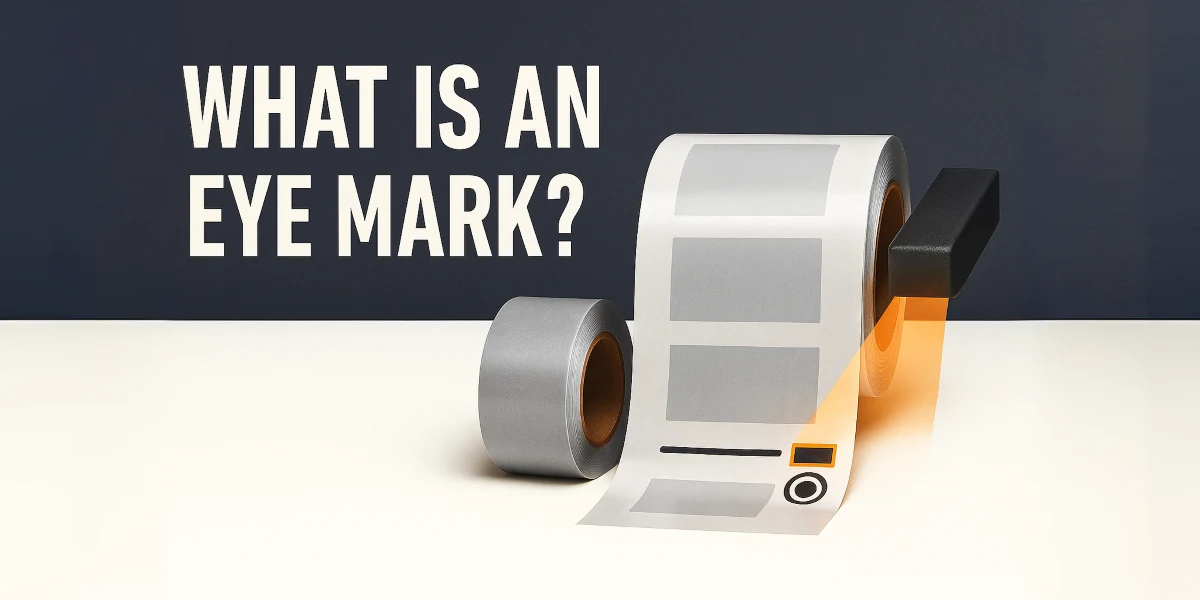
An eye mark (also known as a registration mark or eye spot) is a small printed rectangle, circle, or triangle that acts as a reference point for automated packaging equipment. As the film passes through the form-fill-seal or pouch-making machine, sensors detect the mark and synchronize the cutting, sealing, and filling operations.
Without a proper eye mark, the machine doesn’t know where the package design starts and ends — resulting in misaligned graphics or incorrectly sealed pouches. This issue is common in high-speed lines used for custom candy packaging and custom cookie packaging, where accuracy directly impacts product appearance and brand presentation.
How Eye Marks Work on the Production Line
Eye marks work hand-in-hand with photoelectric or contrast sensors. The sensor detects the difference between the dark eye mark and the lighter film background, triggering the machine to perform the next step in the cycle — usually a cut, fold, or seal. The goal is consistent pouch size and graphic registration across the entire run.
Modern lines use various types of sensors, including:
- Optical contrast sensors – detect dark marks on light backgrounds (most common).
- Ultrasonic sensors – use sound waves instead of light, ideal for clear films.
- Electric-field sensors – detect film thickness variations and don’t require printed marks.
Even as technology advances, traditional printed eye marks remain the industry standard because of their reliability and simplicity.
Eye Mark Specifications: Size, Color & Placement
For consistent results, eye marks must be clearly defined in your packaging artwork and film specifications. Here are the key parameters:
- Size: Typically 2–10 mm wide and 5–20 mm long, depending on sensor resolution and machine speed.
- Color: Use a high-contrast mark—black on clear or light films, white on dark films—to ensure easy detection.
- Placement: Keep the mark in a clean “eye mark track,” free of graphics or print noise, usually near the bottom or side edge of the film.
Incorrect placement or poor contrast can lead to skipped marks or double reads, causing film jams or off-register pouches. Always confirm sensor calibration during setup to prevent unnecessary downtime.
Common Eye Mark Issues & How to Avoid Them
Eye marks seem simple, but a few small errors can derail a production run. Here are common issues and how to prevent them:
- Low contrast: The sensor fails to read the mark because the background color is too similar. Solution: increase color density or choose an alternate hue.
- Misalignment: The mark was printed outside the designated track. Solution: ensure precise registration during printing and slitting.
- Print distortion: Stretching or film shrinkage affects the distance between marks. Solution: verify material stability before printing large runs.
At Hawk Flex Packaging, our engineers collaborate directly with converters to review prepress proofs and verify mark visibility during test runs — saving brands thousands in setup and scrap costs.
Real-World Examples: Candy, Cookie & Gummy Packaging
Different product types require different film behaviors and line speeds, and that means eye mark positioning must adapt too:
- Candy Pouches: For high-speed wrapping and fill lines, we ensure each mark sits in a dedicated channel to maintain cut precision and minimize waste. Visit our custom candy packaging page to see how we optimize for colorful, gloss-finished designs.
- Cookie Bags: Larger gusseted pouches need marks aligned near the bottom seam so that the artwork remains centered on the front panel. See examples in our custom cookie packaging gallery.
- Gummy Packs: With heavier fills and thicker laminations, sensors must be tuned carefully. We customize film tension and eye mark track width for each custom gummy packaging project to maintain consistency.
Best Practices for Eye Mark Setup
To keep your production running efficiently, follow these best practices:
- Confirm sensor type (optical, ultrasonic, or electric-field) before finalizing print specs.
- Reserve a minimum 6 mm “quiet zone” around each eye mark in your artwork file.
- Use prepress proofs and test runs to validate sensor response before full-scale production.
- Document mark size, color, and location for every SKU to ensure repeatable results.
These simple steps ensure accuracy across film batches and machines — preventing one of the most common sources of costly downtime.
Conclusion: Precision That Keeps Production Moving
Eye marks may be small, but they’re essential for keeping your flexible packaging production running smoothly. When specified and tested correctly, they allow every pouch, wrap, or bag to cut perfectly — protecting both your brand image and your bottom line. At Hawk Flex Packaging, we help brands nationwide — including those in Arizona — optimize their packaging films for flawless performance. Whether you’re running short custom jobs or nationwide production volumes, our team ensures every detail — down to the eye mark — is engineered for success.